CollabCAD Installation Steps for Windows 10
Step 1
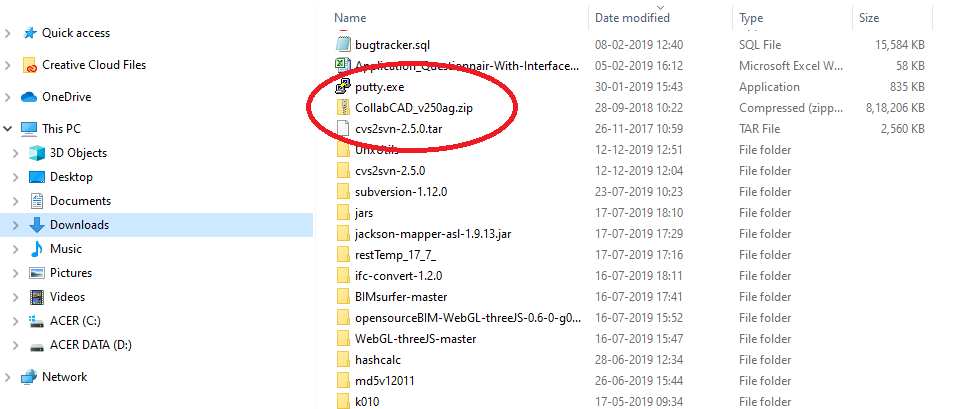
Download CollabCAD for Windows
Download the windows version of CollabCAD and it will be available in Downloads directory in window 10.
Step 2
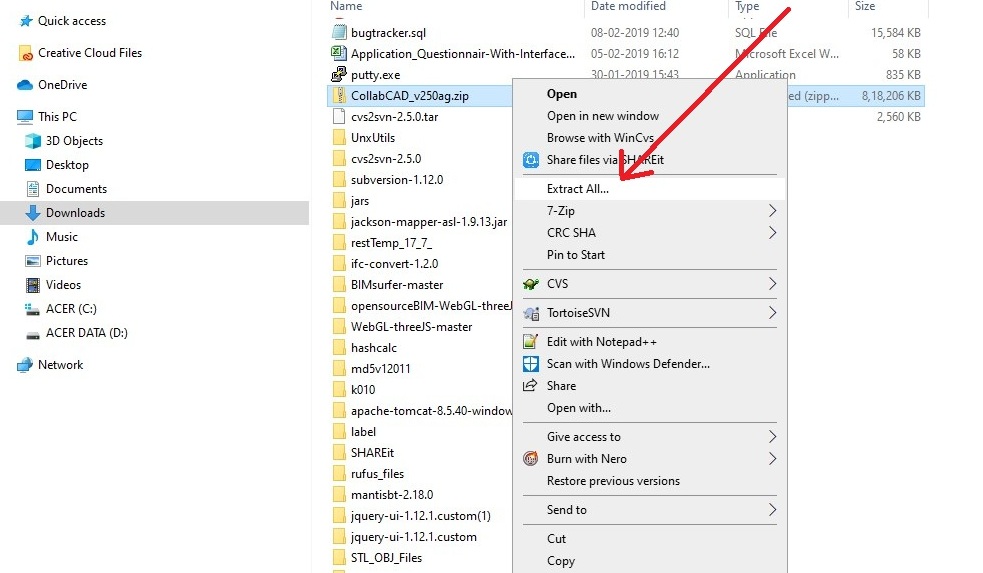
Extract downloaded zip
Extract zip file by using any zip extractor.
Step 3
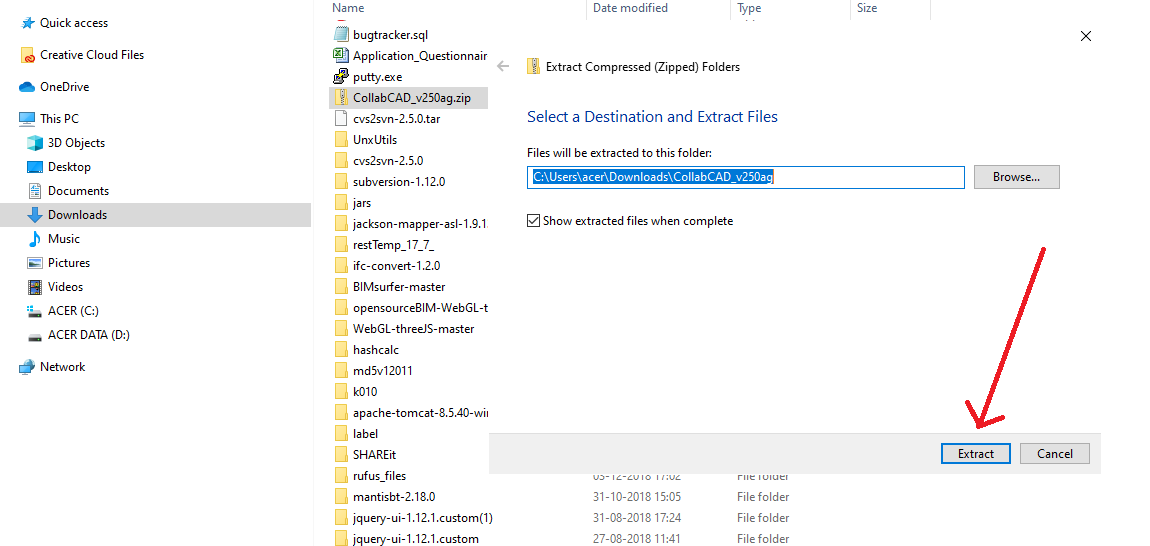
Extract downloaded zip to any directory
Extract zip file by using any zip extractor. A folder with same name as zip will created on desired disk.
Step 4
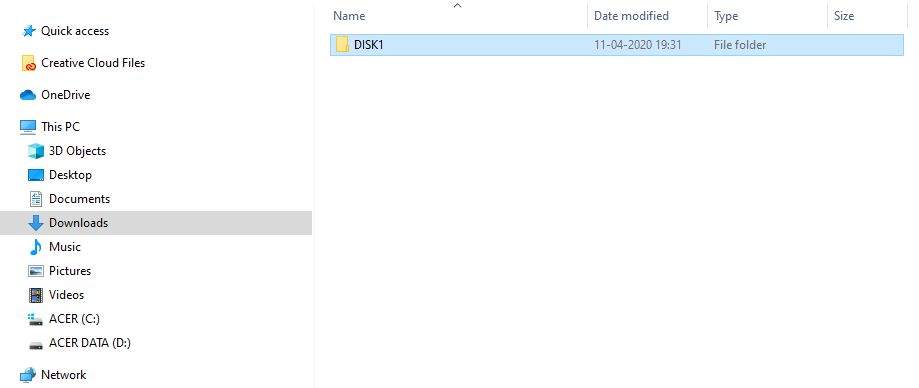
Open extracted folder
Open folder which is generated after extraction of zip. A directory "DISK1" is seen.
Step 5
Open "DISK1" folder
List of files including setup file (setup.exe) will be seen.
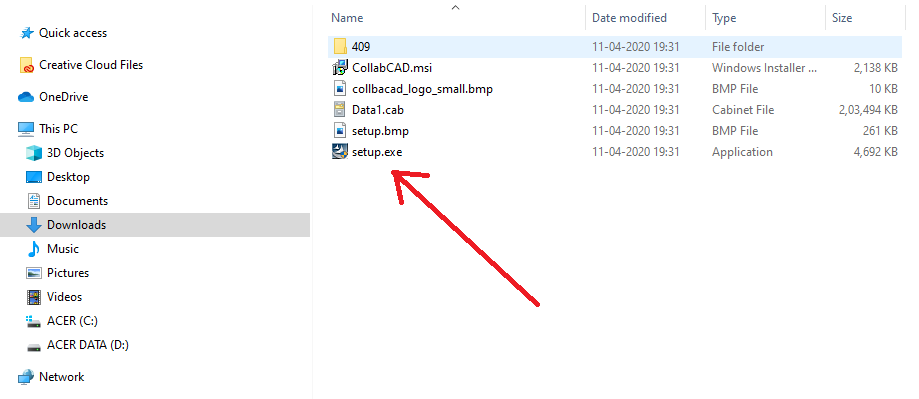
Step 6
Click (hit) setup.exe to start the installation
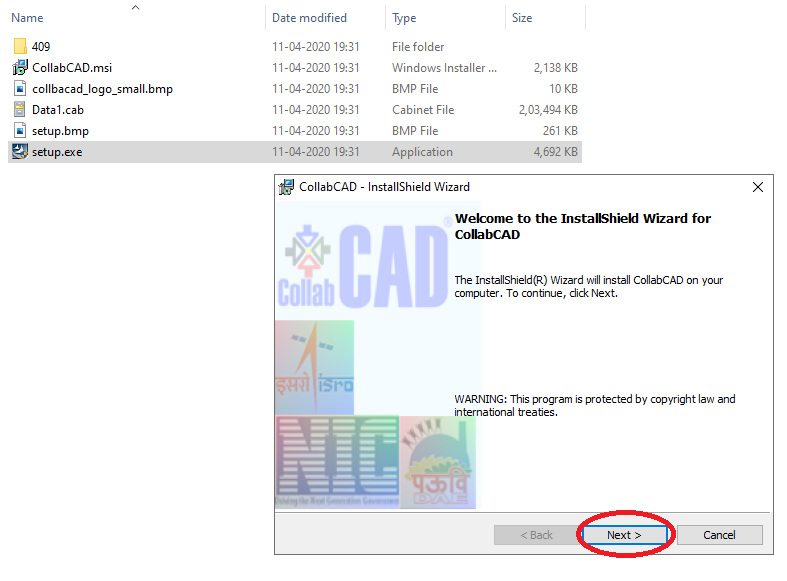
CollabCAD installation will start once setup.exe will execute. It might take permission for start the setup, so ensure that all permissions are allowed to initiate installation.
Click "Next" for proceed CollabCAD installation.
Step 7
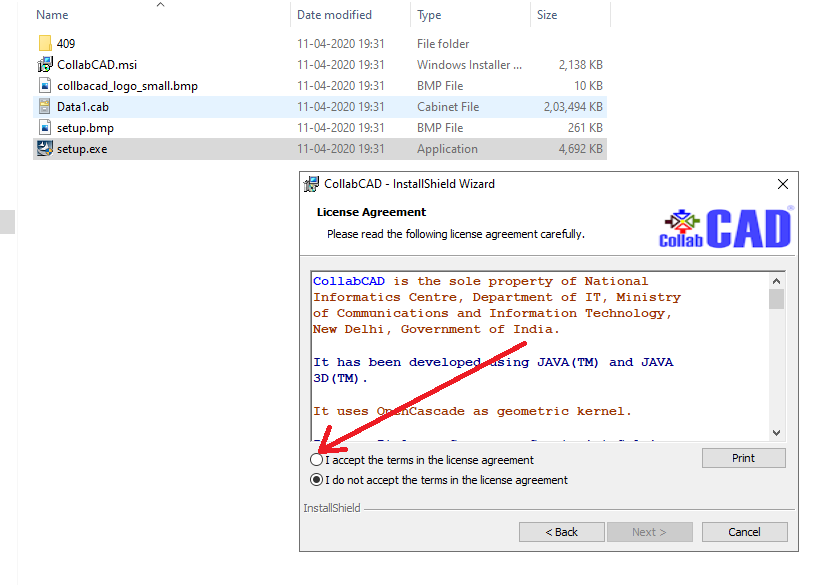
Accept the terms
Check the option "Accept the terms in the license agreement" and then click "Next".
Step 8
Accepting the terms and agreement
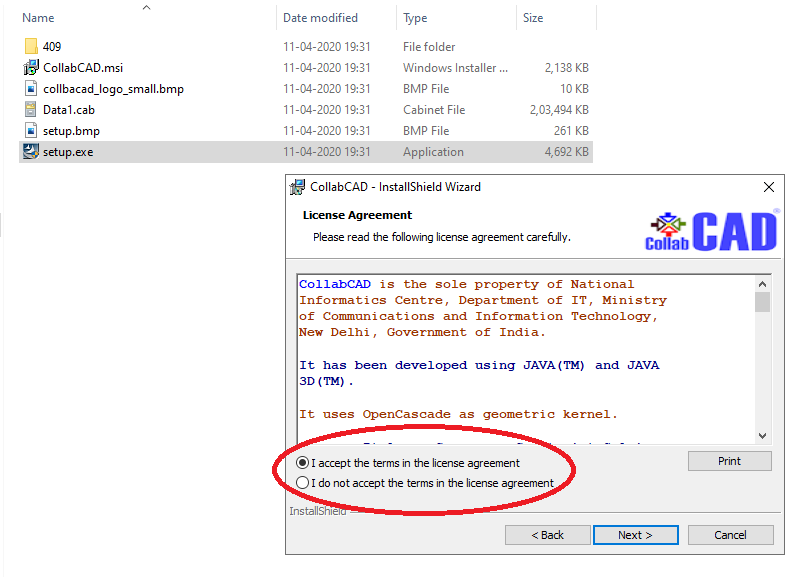
On checking option you have to accept the terms in the license agreement.
Hit "Next" once terms in the license are accepted.
Step 9
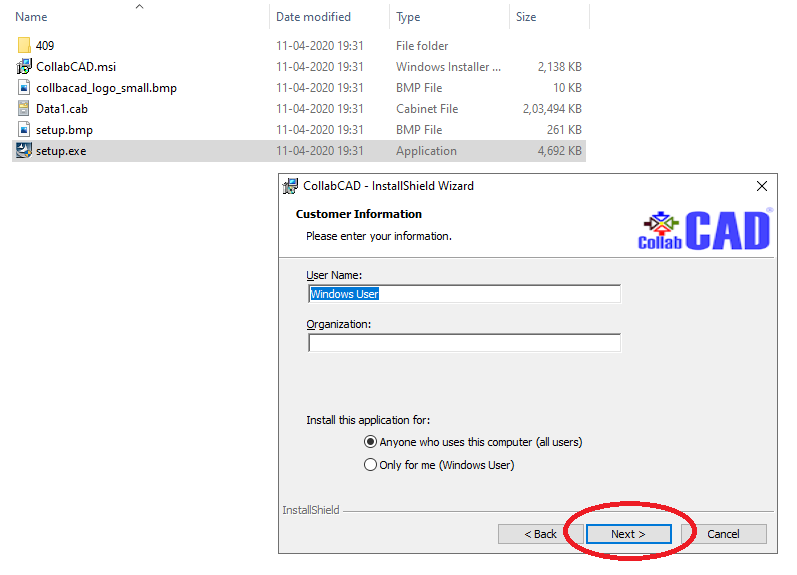
User information
You can add the information about system user.
Select option accordingly and click "Next".
Step 10
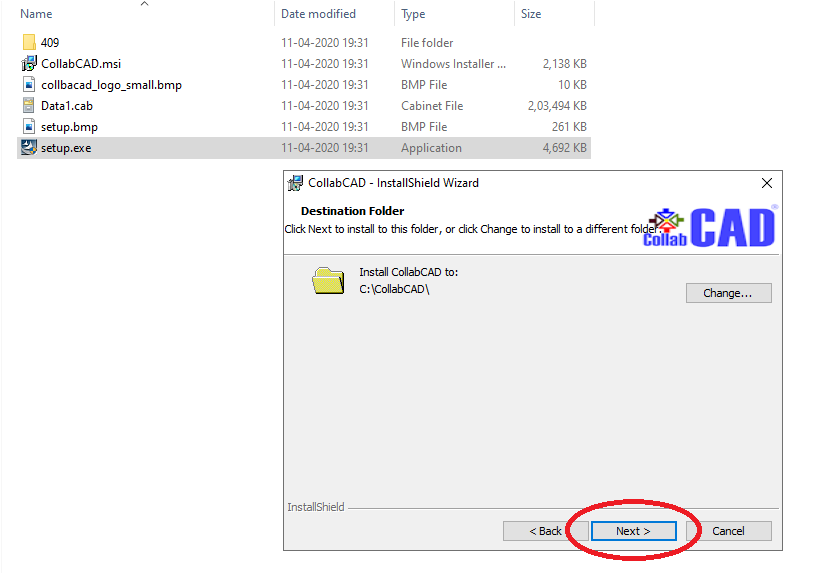
Selecting installation Directory
You can change the installation directory for CollabCAD. By default installation directory will be in "C drive".
Click "Next" to proceed installation.
Step 11
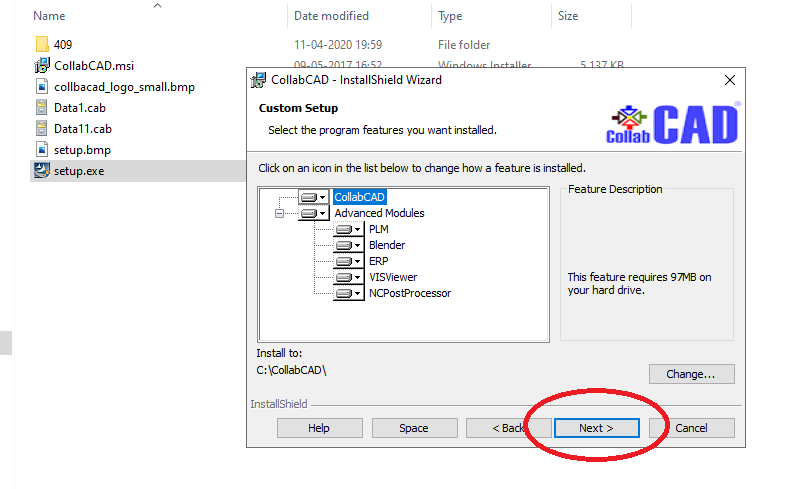
Selecting CollabCAD features
You can select the features you need accordingly and click "Next".
Step 12
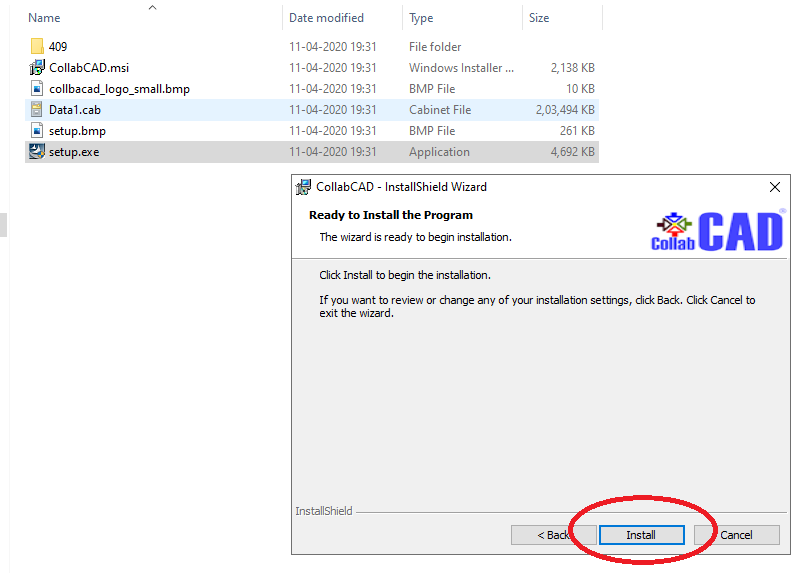
Main installation
Hit "Install" to start the CollabCAD installation.
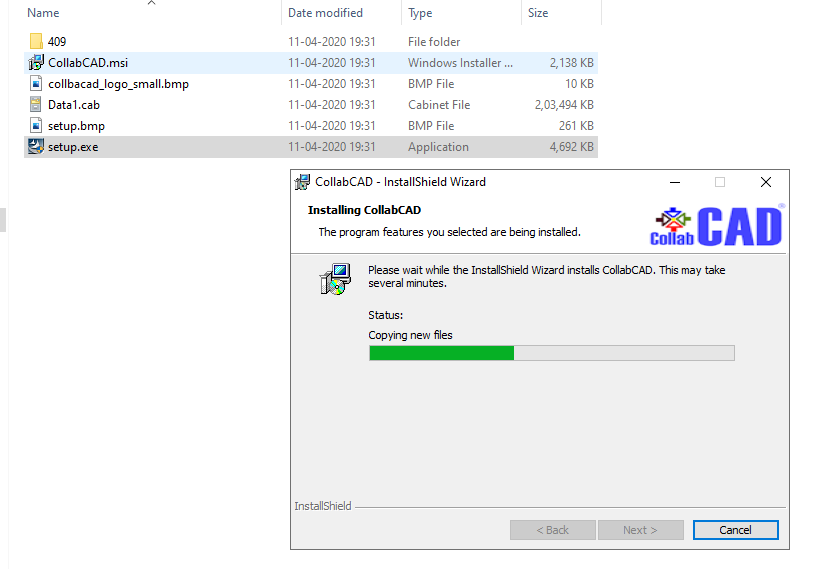
Step 13
Installing CollabCAD
This installation will take some time as it will copy files and directory structure to installation directory.
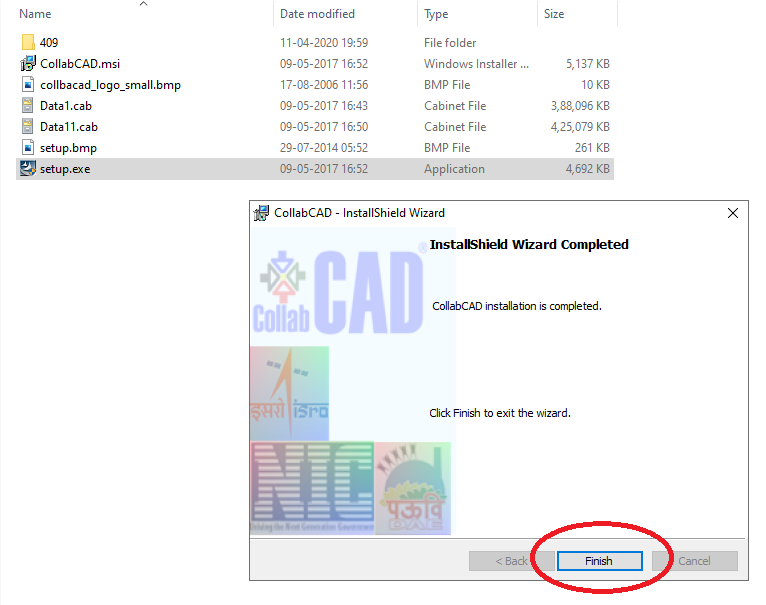
Step 14
Finish the installation
Click "Finish" to finish/ close the installation. Now CollabCAD installation is completed.
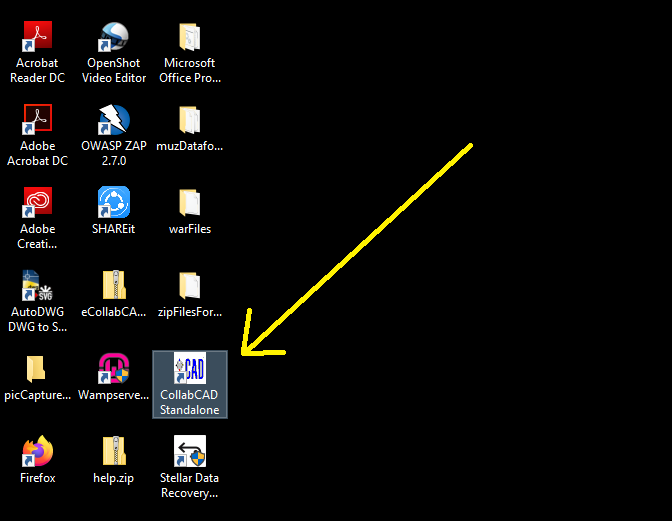
Step 15
Congratulation ! CollabCAD is installed
You can find CollabCAD icon on desktop. Use CollabCAD and create impressive designs.
To know more about CollabCAD usage, refer the online Web Help
To know more about CollabCAD installation, check CollabCAD Videos.
CollabCAD Installation Steps for Linux
Step 1
Download CollabCAD Linux Version
Download the Linux version of CollabCAD and it will be available in Downloads directory.
Step 2
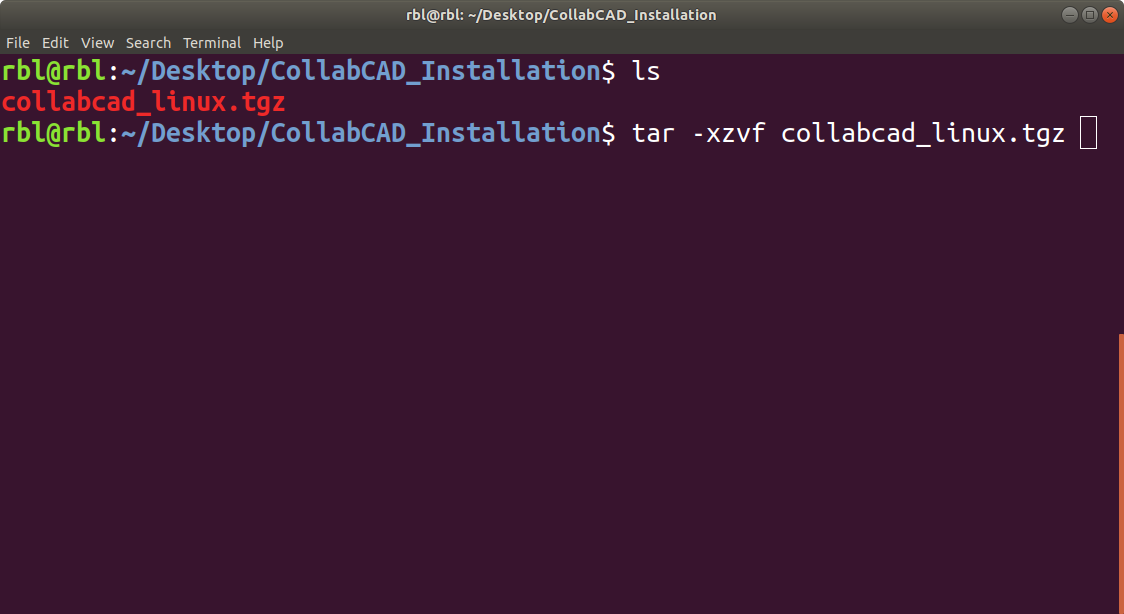
Extract downloaded .tgz file
Extract .tgz file by using following terminal command.
tar -xzvf file_name.tgz
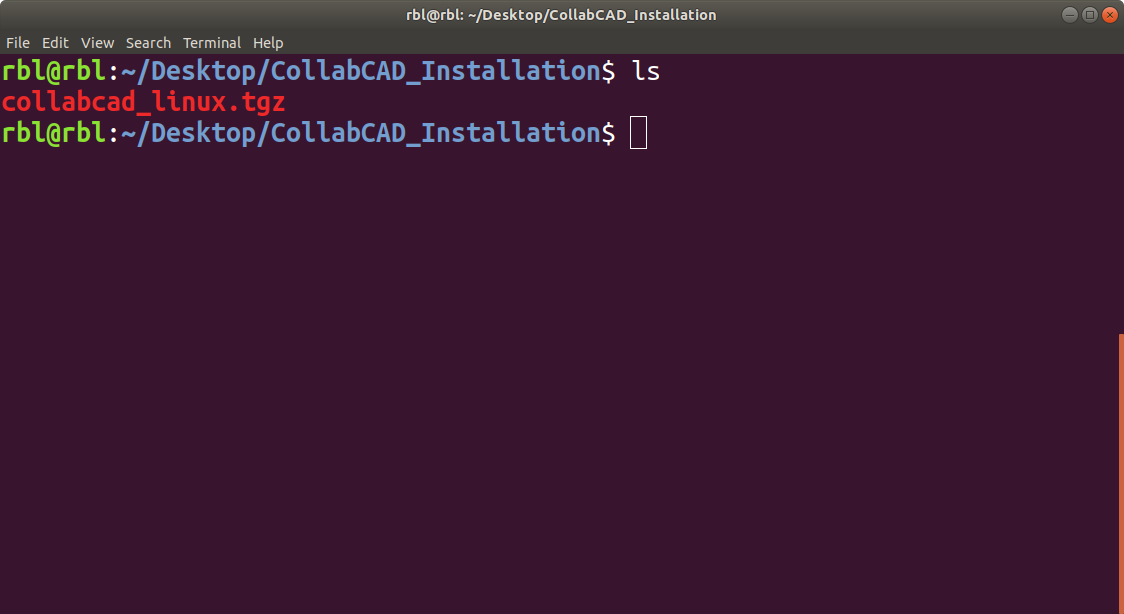
Step 3
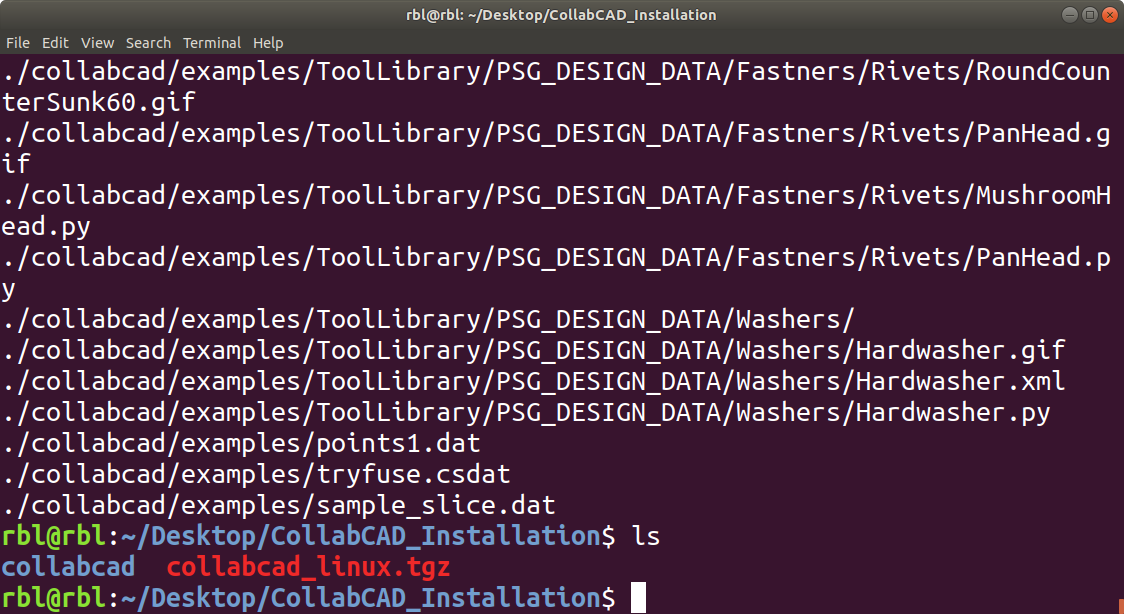
Check extracted directory
Check the extracted directory by using list command (ls)
Step 4
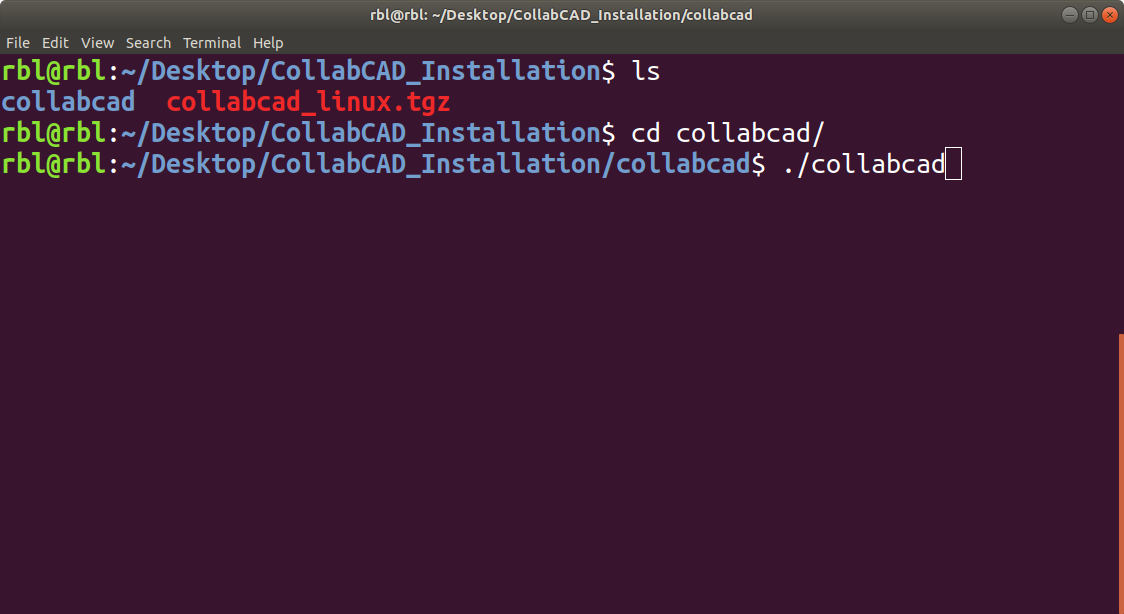
Run CollabCAD
Go to 'collabcad' directory and run CollabCAD by following command
./collabcad
Step 5
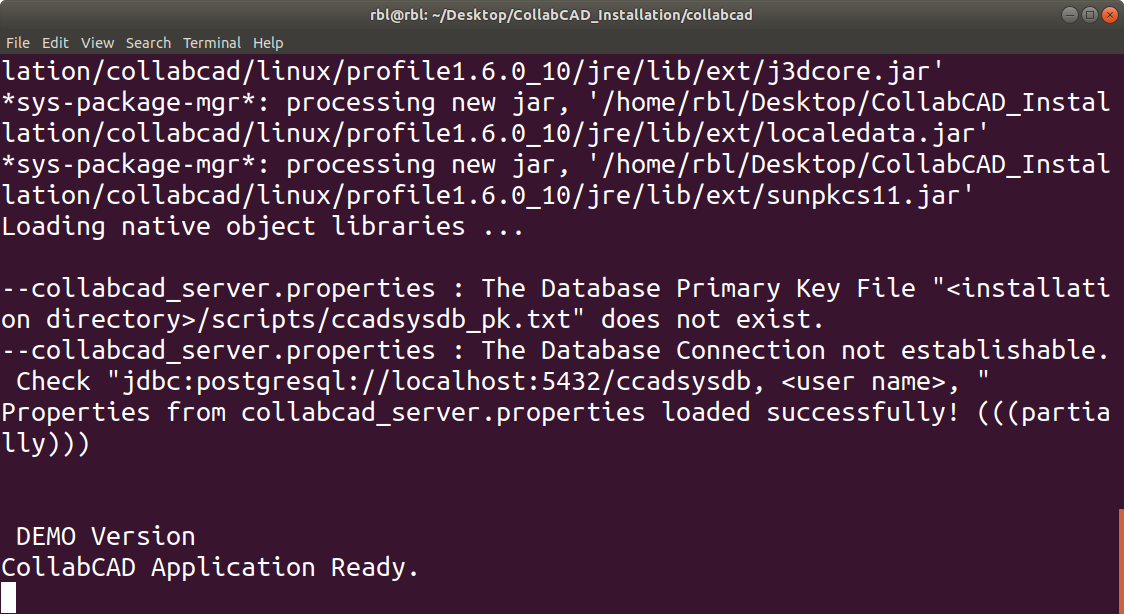
Congratulation ! CollabCAD started
Use CollabCAD and create impressive designs
To know more about CollabCAD usage, refer the online Web Help
To know more about CollabCAD installation, check CollabCAD Videos.
NOTE: The Linux version is tested and supported on fewer lower releases of Ubuntu , CentOS, RHEL and Scientific Linux and may not work on new releases in 2019-20.
If required, you may please contact CollabCAD support (collabcad[at] nic[dot]in). ATL students may contact at CollabCAD ATL support (collabcad[hypen]atl[at]nic[dot]in)